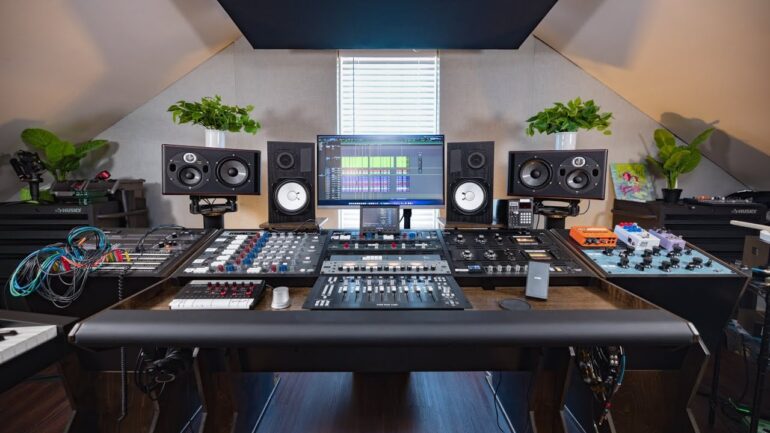
Your garage can be more than a parking spot or storage area. Whether you’re a professional musician or a passionate hobbyist, a remodel can create the ideal private studio.
Garages are often underused but structurally ideal for conversion into a professional-grade creative space because they offer ample square footage, privacy and flexibility. Here are five must-have upgrades that’ll instantly give your garage studio the polish it needs.
1. Install Acoustic Treatments
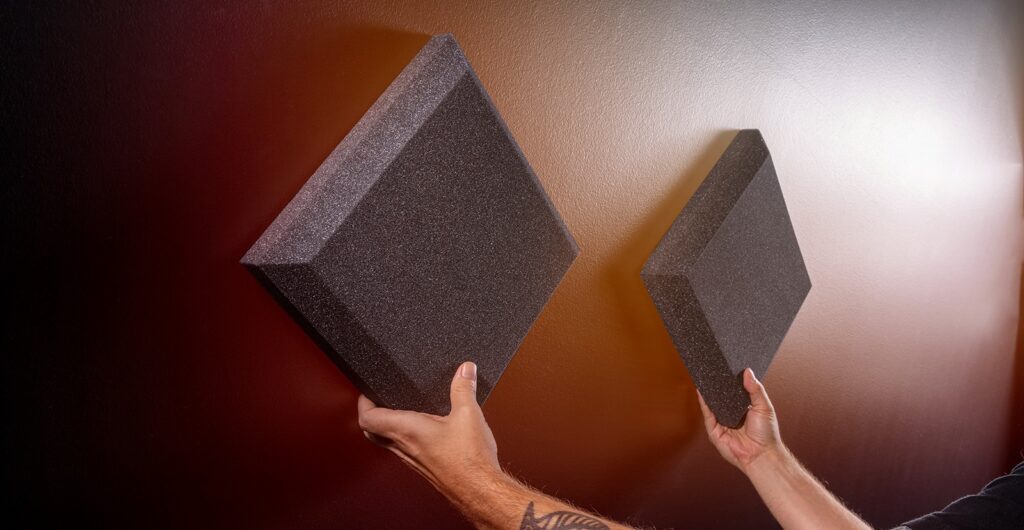
Many people confuse acoustic treatments with soundproofing, but they serve different functions. Soundproofing keeps external sounds out and internal sounds in, while acoustic treatments improve how sound “behaves” inside the room.
- Install acoustic panels: Install high-density acoustic panels on walls — especially at first reflection points. Sound bounces directly off a wall and back to your ears in these areas. Use fiberglass and mineral wool panels for superior absorption, reducing echo and flutter.
- Bass traps: Square corners trap low frequencies and muddy your recordings or mixes. Bass traps absorb these frequencies, giving you crisp audio playback. Place them in every corner of your garage.
- Ceiling clouds and diffusers: If your garage has a high ceiling, use ceiling-mounted panels, also known as clouds, to manage vertical reflections. Add diffusers to maintain a natural sound by scattering sound waves across the room.
A well-treated and maintained room enhances monitoring accuracy far more than upgrading expensive speakers in an untreated space.
2. Insulate for Temperature and Sound
Garages can be drafty, noisy and often too hot in summer or too cold in winter. Insulation is a must-have for creating a functional studio you can play in year-round. Use thermal control and noise reduction to regulate temperature and dampen the sound from your garage — because you don’t want to upset your neighbors, either!
- Noise reduction: Garages are usually uninsulated, but adding insulation can protect your living space, provide vital temperature control and reduce outside sound by up to 30 decibels — vital for clean recordings. Insulate the walls and door, and consider a drop ceiling to soundproof your ceiling.
- Thermal control: Despite the trope of the garage band, standard garages don’t naturally accommodate practice sessions. Add fiberglass batts, rigid foam boards or spray foam to protect your gear and ensure you can play comfortably for hours. Remember to seal gaps around windows and doors to prevent drafts and sound escapes.
3. Upgrade the Flooring
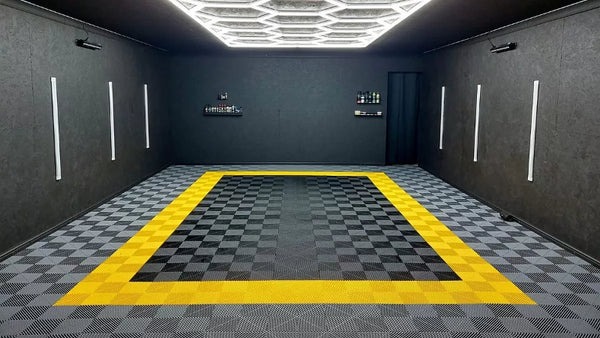
Concrete is ideal for parking your car — but not for your creative flow. Hard floors reflect sound, feel cold underfoot and will become uncomfortable during long work sessions. Upgrade your garage flooring to improve comfort and acoustics.
- Subfloors and soft surfaces: Install a raised subfloor system with moisture barriers to prevent dampness. Place vinyl planks with underlayment, cork tiles or dense carpet squares on top. These materials offer sound absorption and a warmer aesthetic.
- Floating floor: A floating floor can further isolate sound and reduce vibration transfers if you’re tracking live drums or acoustic instruments.
You can use yoga mats or layered carpets to further dampen sound reflections and make standing for long periods less taxing on your feet, legs, hips and spine.
4. Install Proper Electrical and Lighting Systems
A studio needs electricity, but your garage’s existing outlets probably can’t handle audio equipment, computers and lighting all running simultaneously.
- Electrical safety and performance: Hire a licensed electrician to install grounded outlets on dedicated circuits to reduce the risk of tripped breakers and interference. Ideally, audio equipment should run on a separate circuit from lighting and HVAC systems to avoid electrical noise. Grounding also prevents shock if there’s a short circuit.
- Clean power means clean sound: Voltage fluctuations can cause buzz or hum in your single chain. Installing surge protectors or a power conditioner protects your gear and ensures stable operation.
- Lighting that works for you: Swap harsh overhead fluorescents for daylight-balanced LED panels or dimmable track lights. Lighting is essential if you use the space to film. Install blackout curtains or window tinting to control sunlight for consistency during shoots.
If you can afford an uninterruptible power supply, you should buy it to prevent data loss while working on long recordings. Also, don’t install the systems unless you have the right experience. Hiring a professional is always the best solution to get the most of it. So, a lighting contractor guarantees that the lighting system will look and work perfectly.
5. Design an Ergonomic Studio Layout
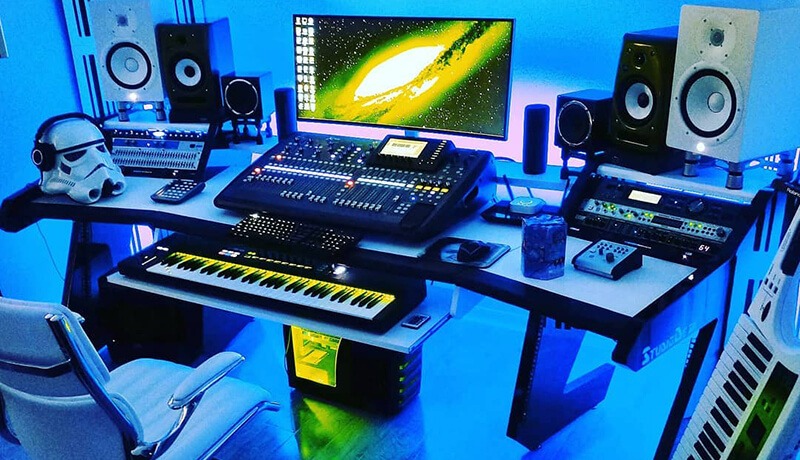
A functional space is more than soundproof — it’s intuitive, ergonomic and supports your workflow. Your studio setup impacts everything from creativity to physical comfort.
- Plan around your gear: Start by placing your primary workstation against a wall for symmetrical sound reflection and fewer phase issues. Positioning your chair an equal distance from the side walls will give the sound enough time to travel to you.
- Zones and furniture: If you have room, create dedicated zones — like one area for recording, another for mixing and editing and a comfy couch to sit on while you brainstorm songwriting ideas and get your creative juices flowing.
- Cable management and storage: Use cable trays or Velcro ties to keep wires off the floor and out of your way when walking. Install shelving or wall-mounted storage to keep equipment organized. A clutter-free space helps you think clearly.
- Climate and airflow: If your garage doesn’t have a built-in HVAC, install a quiet mini-split system or a portable AC/heater. Ensure it’s acoustically friendly to avoid creating unwanted noise. A quick search for furnace maintenance services near me can also help if the heating gets loud or uneven while you work.
Make Your Garage Door Sound Like Success
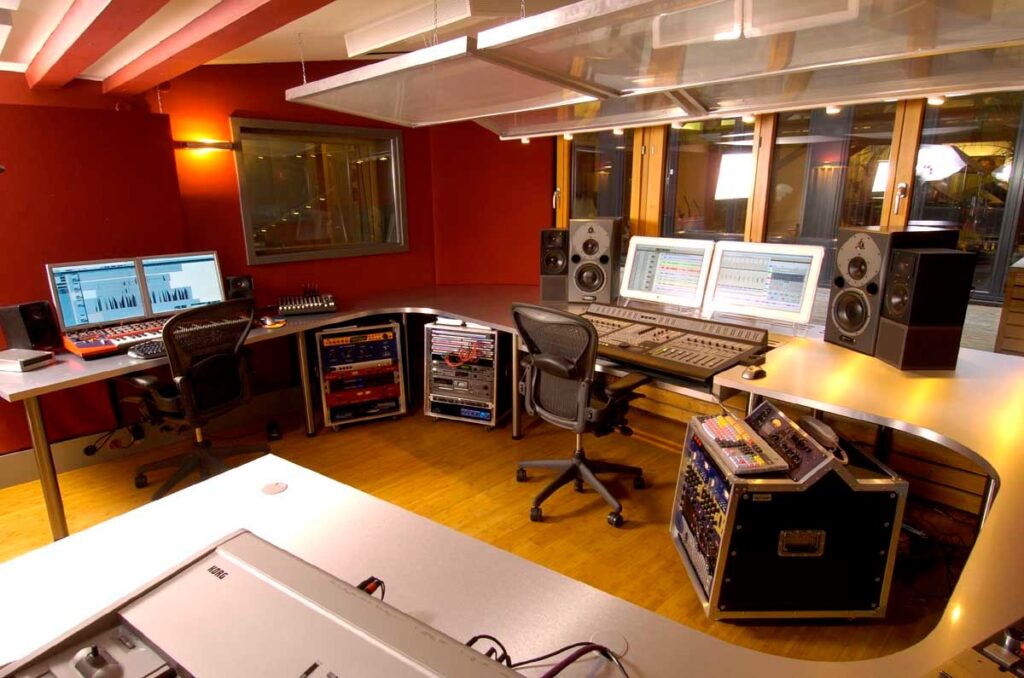
Converting your garage into a private studio is an investment in your home and creativity.
Fine-tune this space with acoustic treatments, insulation, flooring, power setup and an ergonomic layout. Each upgrade helps you strike a perfect balance among function, form, comfort and quality.
Whether you’re recording your next album, podcasting with purpose or editing a cinematic masterpiece, your space should be as soundproof as your ideas. Reduce the noise, dial in the acoustics and let your garage echo with professionalism.
- How Can Independent Musicians Sell More Music In 2026? - February 12, 2026
- Bandcamp Vs Spotify For Indie Musicians – Revenue, Fan Data, Long-Term Strategy - February 2, 2026
- Best Free VST Plugins for Rock Producers – EQ, Compression, Amp Sims, Reverbs - January 31, 2026


